Before you start…
This process requires the creation or modification of group/s within Active Directory. Please consult with your IT Team to arrange the best way for this to happen.
Members of this group must be added / removed using your normal IT User Management processes.
Overview
This process is made up of the following activities:
- Create new or modify existing group in Active Directory to contain only those users who are allowed colour
- Import Active Directory Group into PaperCut
- Apply restriction at printer level (for prints)
- Apply restriction at device level (for copies)
Step 1 – Create new or modify existing group in Active Directory
Work with your IT Team to identify or create a group in Active Directory that contains only those users that are allowed to perform colour prints and copiers
Step 2 – Import Active Directory Group into PaperCut
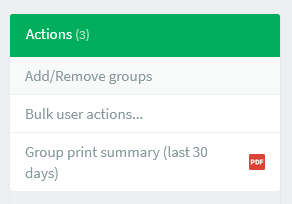
In PaperCut, go to Groups and select Add/Remove groups from the Actions menu on the right side of the page
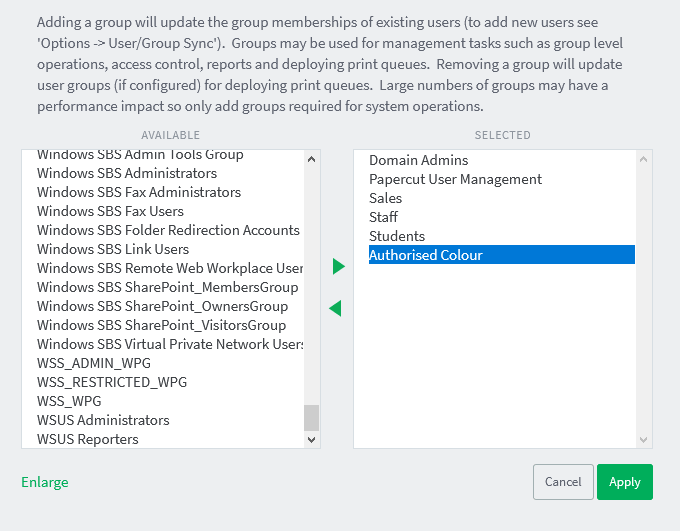
Select the identified group from the Available list and move to the Selected list. Click Apply to continue.
Step 3 – Apply the restriction at printer level
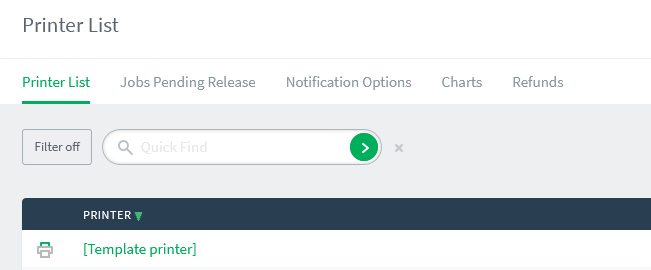
In PaperCut, go to Printers and click on the [Template Printer] from the list (this is used as the base to copy settings to other printers)
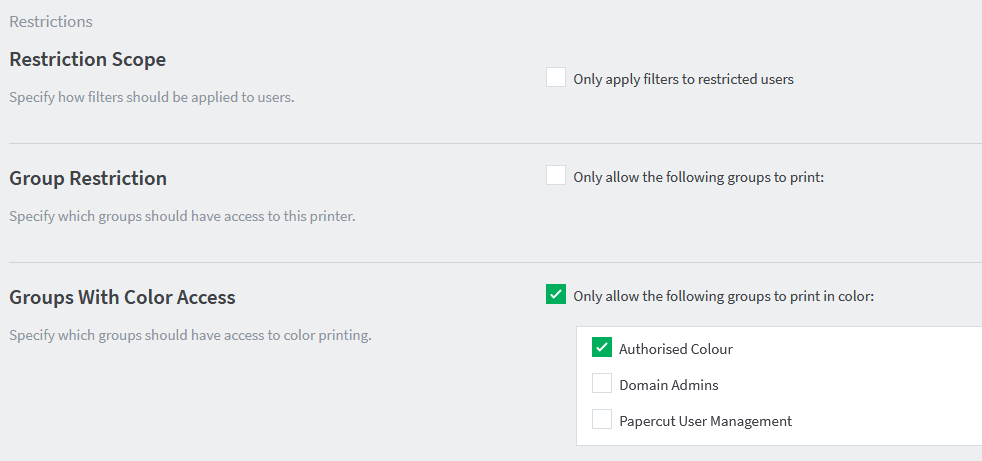
In the [Template Printer], select the Filters & Restrictions tab
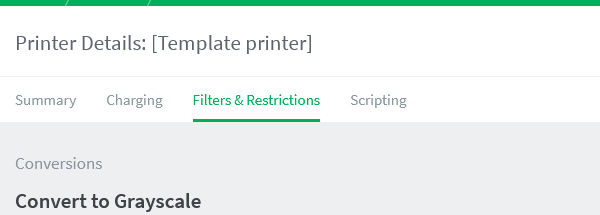
In the Restrictions section:
- In Restriction Scope, un-tick the Only apply filters to restricted users
- In Groups with Color Access, tick Only allow the following groups to print in color and select your group
Scroll down to the bottom of the page and click Apply to continue
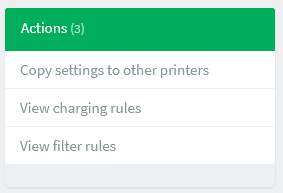
From the Actions menu on the right side of the page, select Copy settings to other printers
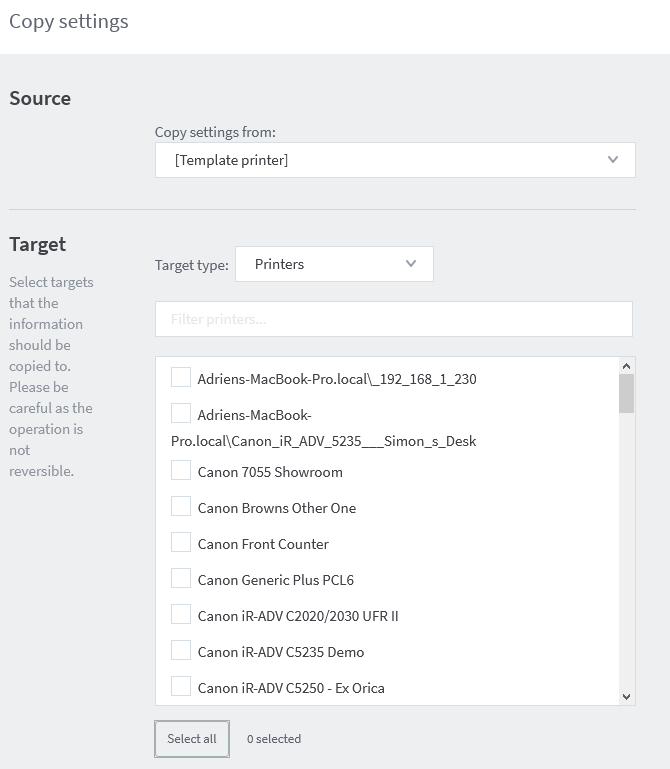
In the Source section, ensure that [Template Printer] is selected in the Copy settings from drop down
In the Target section, use the Select All button to select all other printers
In the Settings section, tick Filters and restrictions and ensure no other settings are selected
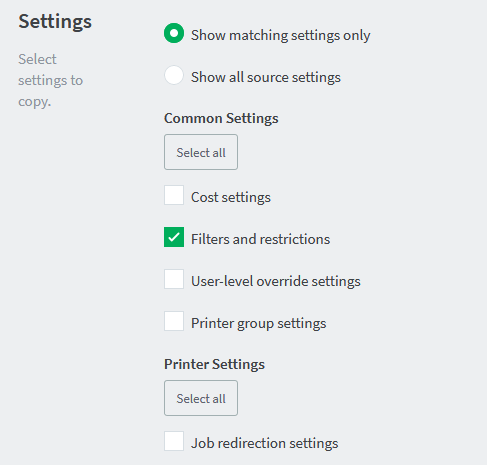
Click Copy to push the restrictions out to all other printers
Step 4 – Apply the restriction at device level
In PaperCut, go to Devices and click on the first device in the list and the select the Filters & Restrictions tab

Tick the Only allow color copying to the following groups

Click Apply to continue
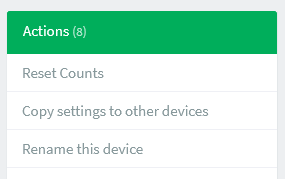
From the Actions list on the right side of the page, select Copy settings to other devices
In the Source section, ensure that the Copy settings from drop down contains the name of the device you just updated above.
In the Target section, use the Select All button to push the restriction out to all other devices
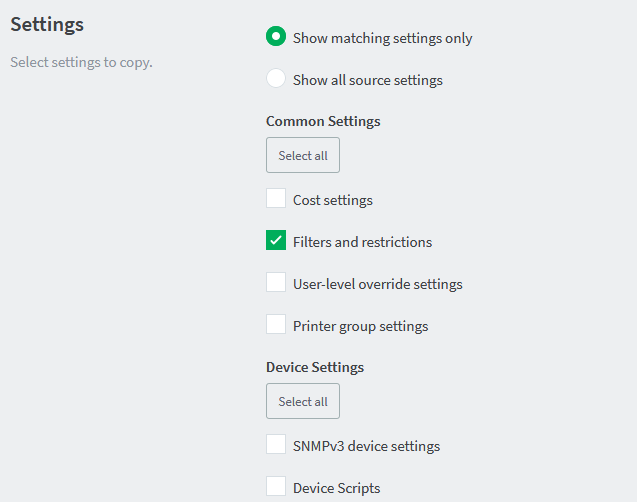
In the Settings section, tick Filters and restrictions and ensure no other settings are selected
Click Copy to push the restrictions out to all other printers